Yeastar - Call Flow Designer - New Setup
Set up a Call Flow from Scratch
You can build a call flow from the ground up, with full control over each component to meet your business needs.
Step 1. Create a call flow from scratch
- Access the creation page of call flow.
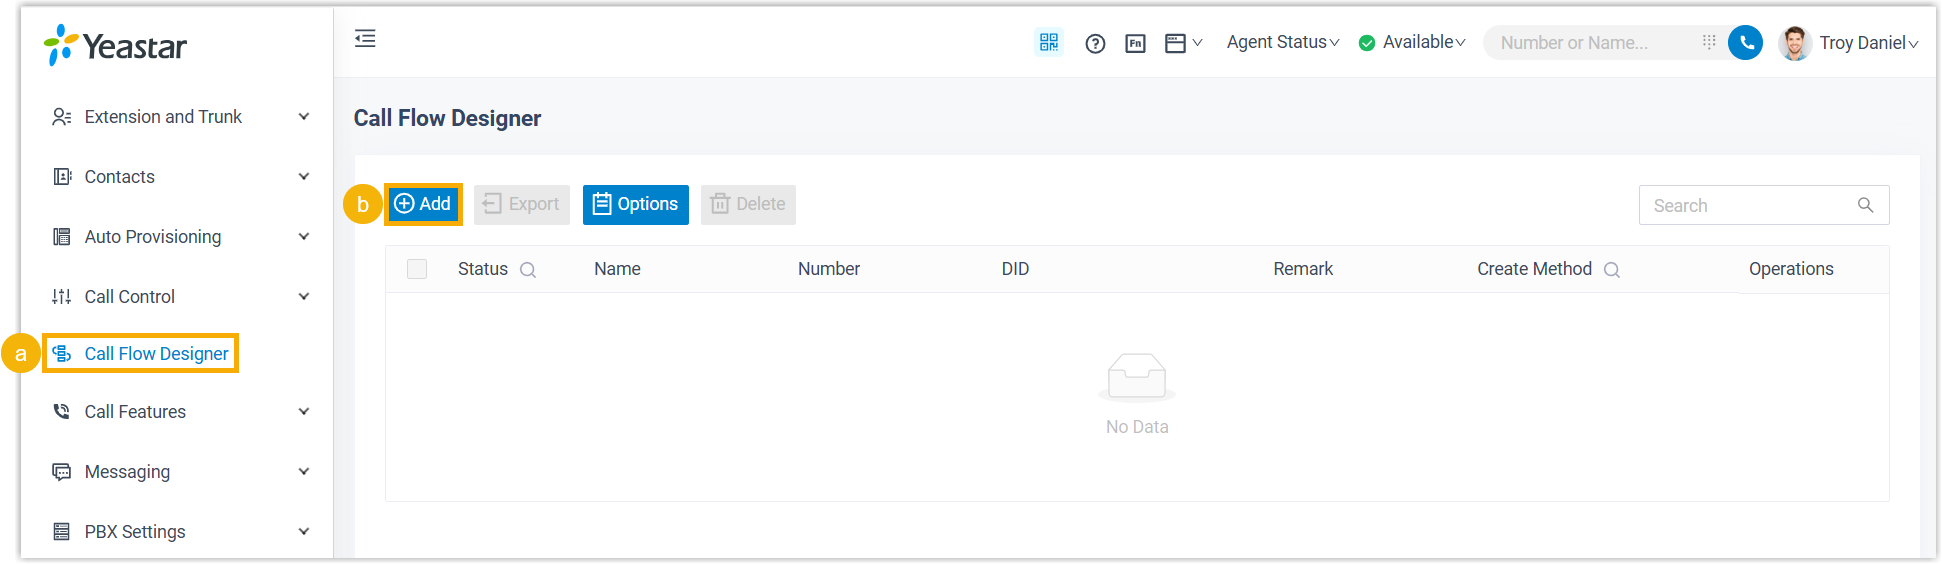
- Log in to PBX web portal, go to Call Flow Designer.
- Click Add.
- In the pop-up window, complete the following settings.
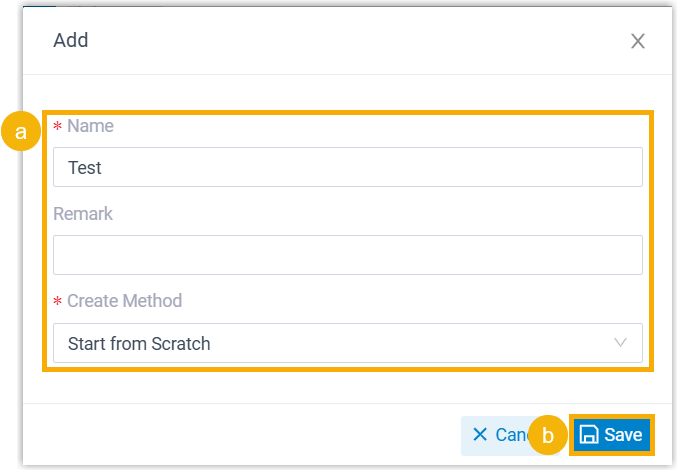
- Fill in the following information.
- Name: Enter a name to help you identify the call flow.
- Remark: Add a brief description.
- Create Method: Select Start from Scratch.
- Click Save.
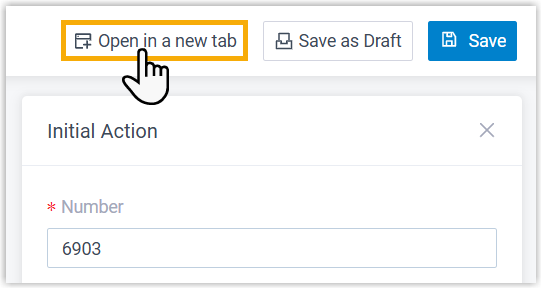
The call flow is created, and the webpage is redirected to the configuration page.
Step 2. Add and connect components
- Add components using one of the following methods:
- Click
 on an component, then select a component.
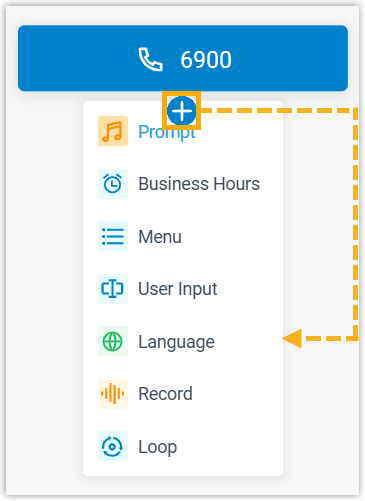
- From the left components toolbox, click or drag a component to the workspace, then click and drag to connect components.
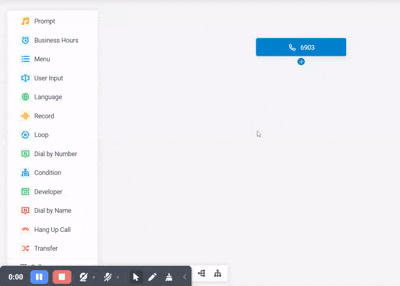
- Click component to edit its settings.
Refer to the table below for introduction and instruction on each component.
Component Description Initial Action Initial Action component is the entry point of a call flow. It allows you to specify the phone number(s) that callers can dial to initiate the flow, and optionally configure an audio prompt to welcome callers or provide instructions for them.
For more information, see Initial Action.
Prompt Prompt component allows you to play audio prompt(s) or a text-to-speech message to callers.
For more information, see Prompt.
Business Hours Business Hours component allows you to route calls to different destinations based on the time of day.
For more information, see Business Hours.
Menu Menu component allows you to present callers with a set of menu options, and route calls based on the DTMF digit they press. For more information, see Menu.
User Input User Input component allows you to collect DTMF digits from callers, typically used with Condition component to evaluate user input and route calls.
For more information, see User Input.
Language Language component allows you to change the system prompt language for subsequent components in a call flow.
For more information, see Language.
Record Record component allows you to start recording a call upon the caller being connected to another participant, and optionally configure prompts to inform call participants at the start and during the recording. Alternatively, you can use the component to disable call recording for calls that are supposed to be recorded. For more information, see Record.
Dial by Number Dial by Number component allows callers to directly dial a number to reach the destination.
For more information, see Dial by Number.
Dial by Name Dial by Name component is one of the end components to terminate caller's connection to the current call flow. It allows callers to reach extension user by entering the first three letters of the user's name.
For more information, see Dial by Name.
Transfer Transfer component is one of the end components to terminate caller's connection to the current call flow. It allows you to transfer callers to a designated destination, and optionally configure prompts to inform them of the transfer.
For more information, see Transfer.
Hang Up Call Hang Up Call component is one of the end components to terminate caller's connection to the current call flow. When callers are routed to the component, the call will be disconnected.
For more information, see Hang Up Call.
Condition Condition component allows routing calls based on logical expressions. For more information, see Condition.
Loop Loop component allows a group of components to be executed repeatedly, either for a specified number of times or until a condition is met. For more information, see Loop.
Developer Developer component allows you to query and update data from PBX-native database or third-party database. For more information, see the following topics: - At the top-right corner, click Save.
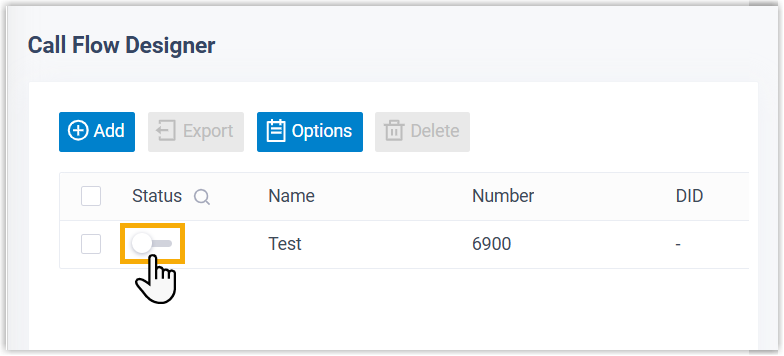
Step 3. Enable the call flow
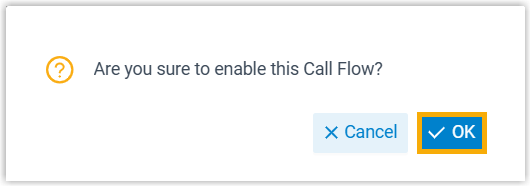
- On the call flow list, turn on the switch of the desired call flow.
- In the pop-up window, click OK.
Related Articles
Yeastar - Call Flow Designer - Supported Components
Initial Action This topic provides an overview of the Initial Action component, and describes its restriction, configuration, as well as supported connections. Component restriction Each call flow contains exactly one Initial Action component. This ...Yeastar - Call Recording Minutes
Yeastar Call Recording Minutes Understanding Yeastar Call Recording Yeastar Call Recording Minutes are allocated to the system Call Recording Minutes account for both the recording and the storage of the recordings on the local drive of the system ...Yeastar - Holiday Call Flow
Holiday Call Flow This topic describes how to create holidays for a specific time zone by date, week, and month. Create a holiday by date Creating a holiday by date. Example: Christmas and boxing day fall on the same dates each year 25th and 26th ...Activate and Initially Set up Yeastar P-Series Software Edition
Activate and Initially Set up Yeastar P-Series Software Edition After you install Yeastar P-Series Software Edition, you need to activate and finish initial configurations for the system using the Installation Wizard. Prerequisites You have accessed ...Yeastar - Connecting Grandstream HT802 ATA adapter
Grandstream HT802 to Yeastar Setup Yeastar User In Yeastar admin portal, add user for the ATA and configure as below: Assign Extension Number and Name, take note of Registration Name and Password, use auto generated or set a new password. Disable ...