Yeastar - 3CX Migration to Yeastar
3CX Migration to Yeastar
The database of a 3CX can be extracted and loaded into Yeastar PBX.
The process consists of 4 steps:
- Download Backup File from 3CX PBX
- Delete end devices for auto provisioning onto Yeastar and disable SIP trunks
- Upload the Backup File to Yeastar PBX and Reboot
- Review and check the mapped configurations on Yeastar PBX - Post Restore Tasks
Initially check the 3cx and Yeastar Pre requisites.
PRE REQUISITES
Requirements for 3CX phone system
Must be V18 or V20
ITEM | REQUIREMENT |
Version | V18 or V20 |
Requirements for Yeastar phone system
- Software Version must be or above: 83.18.0.59
- Cloud Edition must be or above: 84.18.0.5

CommsPlus Recommends upgrading the Yeastar to the latest available version
PROCEDURE
Backup
3cx Database
This topic
will work through the migration of DB from 3cx into Yeastar
- Log in to 3CX management console, go
to Backup and Restore.
- Create a new backup.
 NOTE: Do NOT select any of the additional items, as they cannot be migrated to
Yeastar Phone System. Only select the following highlighted by C
NOTE: Do NOT select any of the additional items, as they cannot be migrated to
Yeastar Phone System. Only select the following highlighted by C- Select backup
- Name backup
- Select this option ONLY
3. Download the backup
To migrate the auto-provisioned
phones to Yeastar Phone System, you need to remove the phones from 3CX and
release the phones' MAC addresses from manufacturer RPS to avoid potential
provisioning failure.
Remove phones from 3CX
Restore 3CX Backup on Yeastar
Phone System
- Log in to PBX web portal, go to Maintenance > Backup and Restore.
- Upload
the 3CX backup.
- Click Upload.
- Click Browse to select the 3CX backup.
- Click Upload.
- Restore
Yeastar Phone System from 3CX backup.
- Click
beside the 3CX backup.
- In the pop-up window, click OK.
- Reboot Yeastar Phone System to make the configurations take effect.
On reboot completion DB restored.

When importing DB, only the quantity of extensions will load into Yeastar for the number of licenses.
i.e. if you have 10 licenses and 20 users in 3CX, only 10 will load into Yeastar at time of DB import
POST RESTORE TASK
Yeastar outline post checks of systems through this guide: POST 3CX to Yeastar Migration Checks
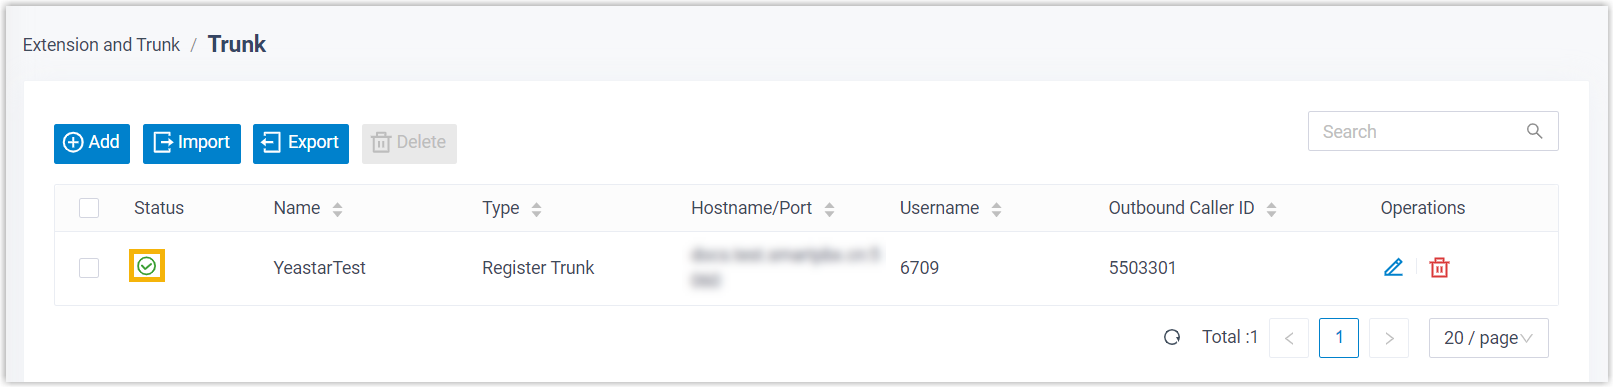
Enable SIP Trunks
After migrating SIP trunks to Yeastar Phone System, SIP trunks are disabled by
default. If the trunks are ready for use on Yeastar Phone System, you can enable
them.
- Log in to Yeastar PBX web portal, go to Extension and Trunk > Trunk.
- Click
 beside the desired trunk.
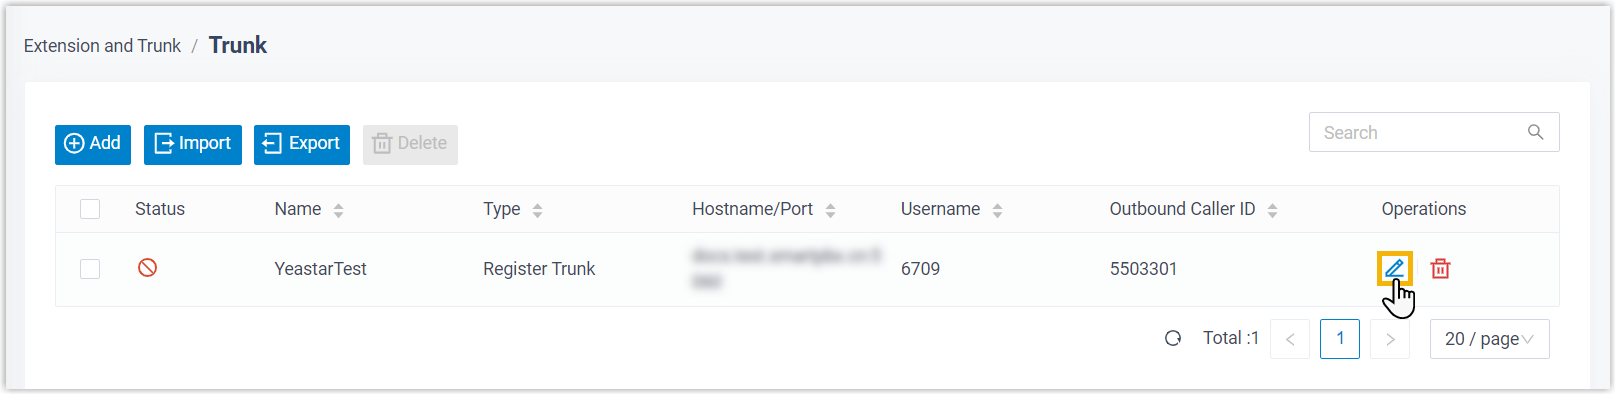
- In the Trunk Status drop-down list, select Enabled.
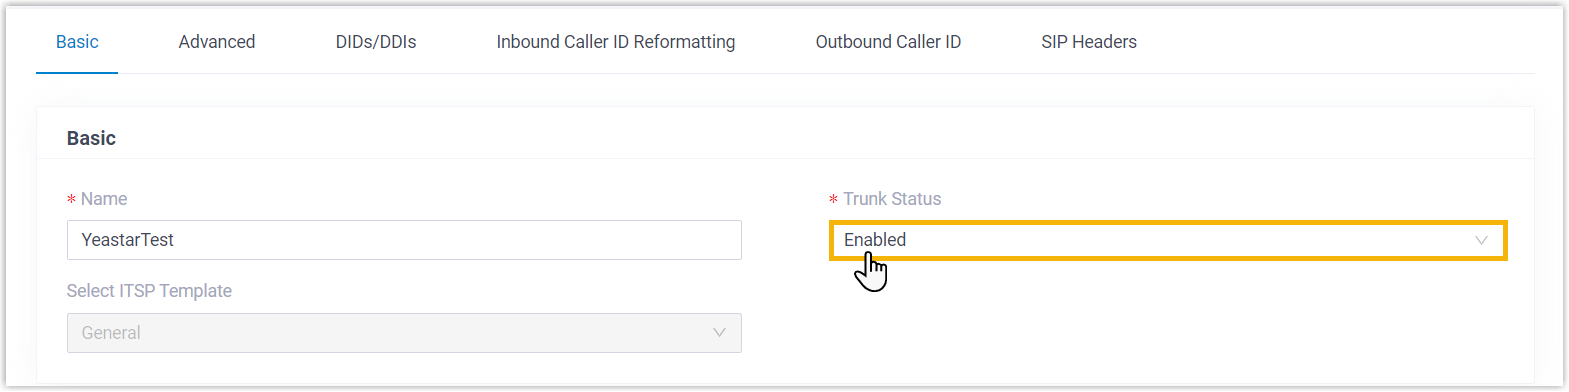
- Click Save and Apply.
Auto Provision Phones
Ensure that you have removed the phones from 3CX and released the phones'
MAC addresses from manufacturer RPS to avoid potential provisioning
failure prior
Remove phones from 3CX
Yeastar outline auto provision of devises in this guide and supported devices: Post 3CX migration - Auto Provision of phones
Devices will migrate into Yeastar with "Authentication for the First time Auto Provisioning" This means credentials required to log in
As random usernames are created suggest bulk edit all extensions registration name with extension number
Additionally you can edit the voicemail PIN on all users
Can choose an option for ease of login, i.e. add prefix to extension number e.g.159
for this example logins for extensions will now be;
Username; Extension Number
Password: 159 + Extension Number
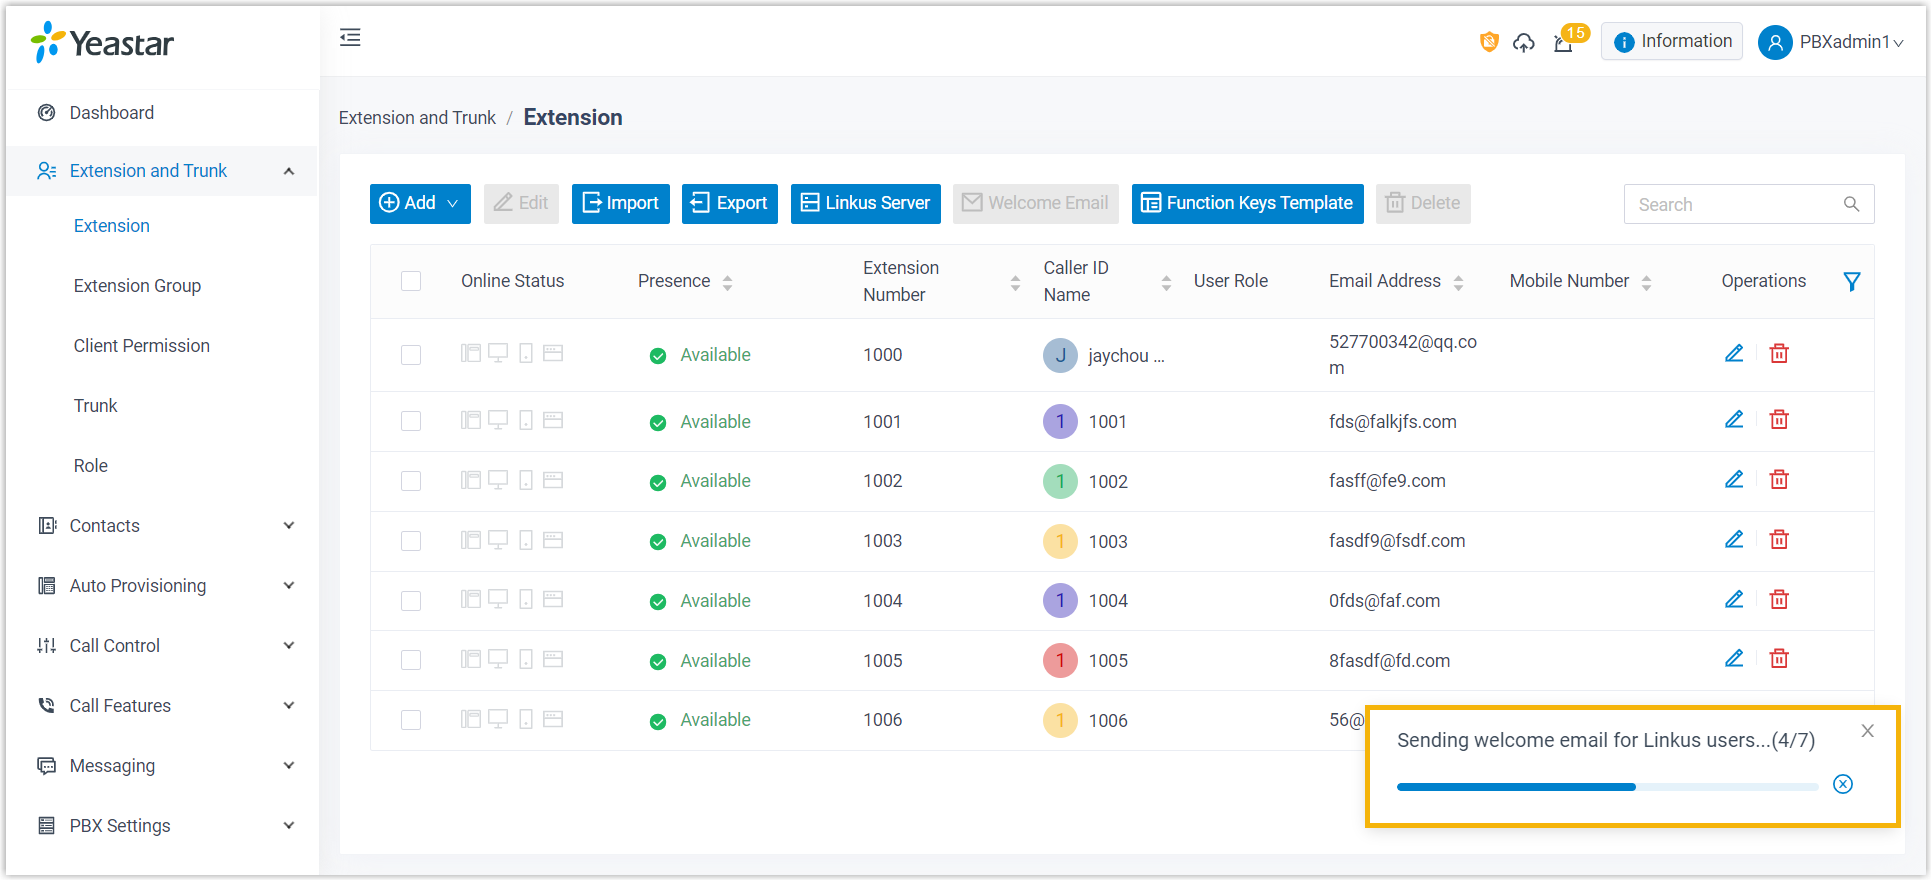
Send Linkus Welcome Emails to Extensions
- Log in to Yeastar PBX web portal, go to Extension and Trunk > Extension.
- Select the checkboxes of the desired extensions, then click Welcome Email.
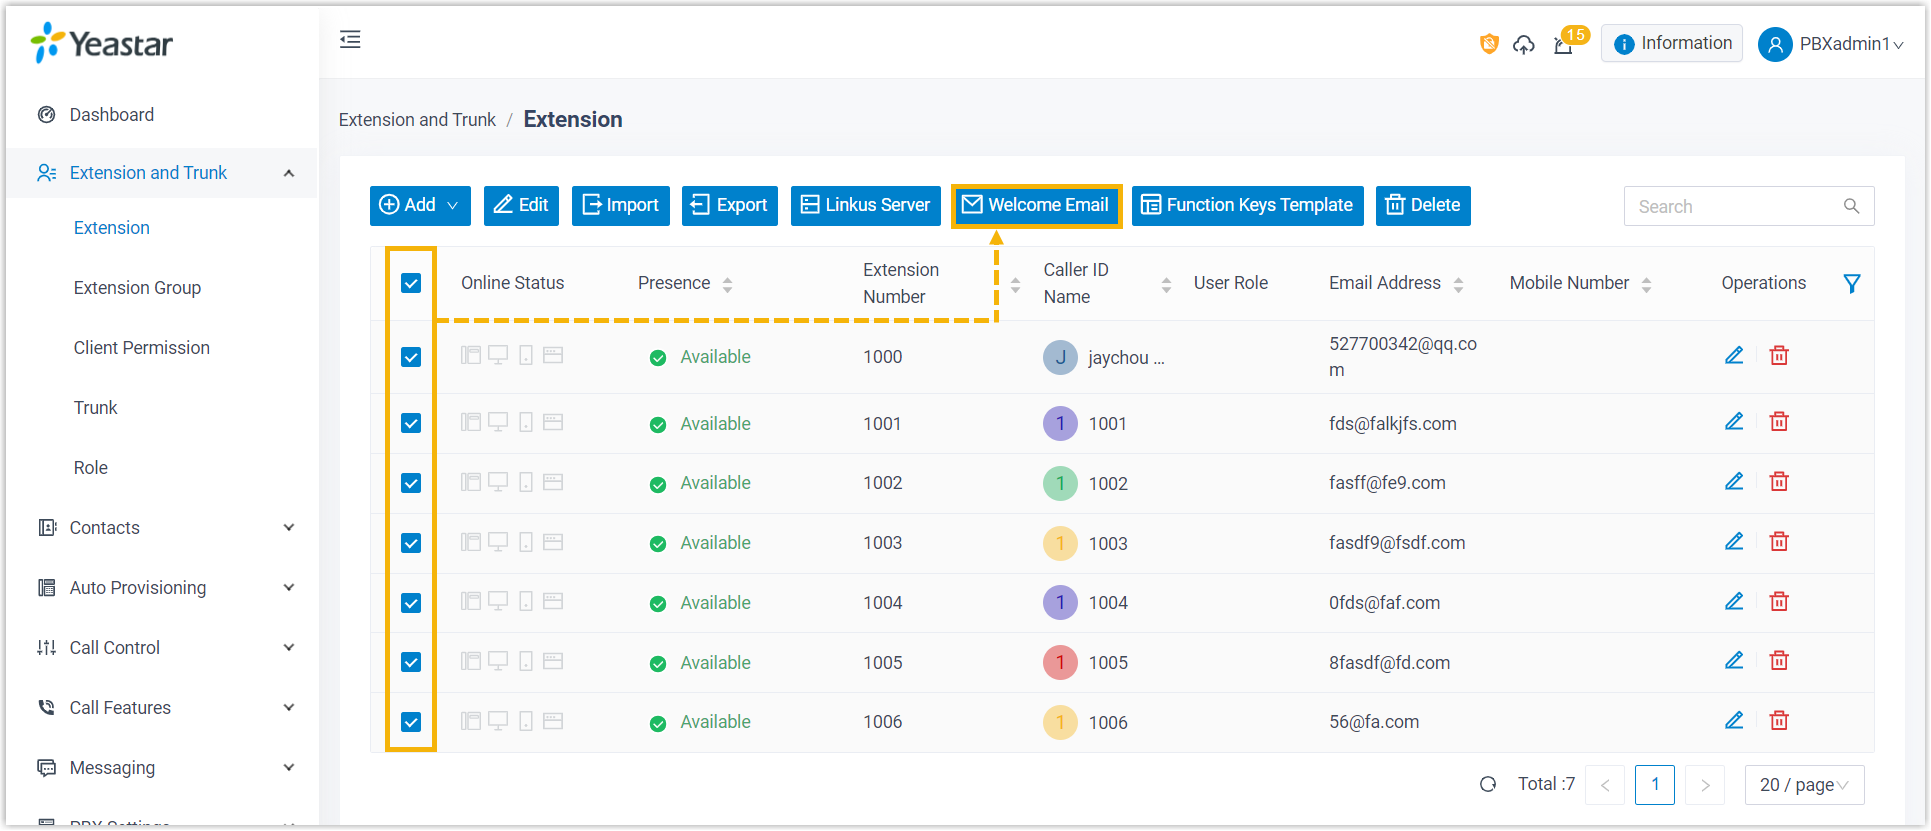
Linkus welcome email are sent to extensions users mailbox, Progress can be viewed at the bottom-right progress, Credentials for Linkus will be supplied din email
Related Articles
Yeastar - Considerations For PSE Migration
Considerations For PSE Migration Scenarios When you want to migrate PSE(P Serial Software PBX) from an old server to a new server with retore PSE's backup, there is something to note. Applicable Devices P-Series Software Edition Steps 1. Make sure 2 ...Yeastar P-Series Self-Hosted Migration to Different Platform
Yeastar P-Series Self-Hosted Migration to Different Platform On the current Yeastar P Series PBX Check for new firmware and if available upgrade the Yeastar to the latest firmware Select Maintenance – Upgrade – Check for New Firmware Select Upgrade ...Yeastar - P-Series Software Edition Server Migration
P-Series Self Hosted Server Migration You can migrate the database of a Software Edition Yeastar P-Series. Procedure 1. Take up backup for current system, enable 'License Code and FQDN Settings' option accordingly. 2. Install new server, in wizard ...Yeastar - Provisioning Avaya J series handsets Manually
Yeastar - Provisioning Avaya J series handsets Manually Auto Provision Avaya Phone in Yeastar Yeastar - Auto Provisioning - Phones Add the phone Configure Avaya J Series Power on the Avaya J Series Note: If the phone has already been used, you will ...Yeastar - Backup P-Series Cloud PBX
Backup P-Series Cloud PBX Capture Backup Log in to Yeastar Central Management, Login as Administrator to the PBX instance -Take a backup of Instance. You must do this within the instance and not YCM portal (YCM does not give a download file option) ...